
When Jacob O’Riain first envisioned Off-Grid Camper Coffee, he wasn’t following a traditional business blueprint. Fresh from earning a business degree, Jacob found his true inspiration not in classrooms, but in the wilds of British Columbia—among forests, beaches, and mountains where he would park his vintage van, brew espresso, and watch the world wake up. Having more experience drinking espresso than making it, an appreciation for the charm of retro camper vans, and a restless drive for independence, Jacob set out to bring great coffee to remote places. What began as a simple idea soon evolved into a way of life that seamlessly blends work, home, and adventure.
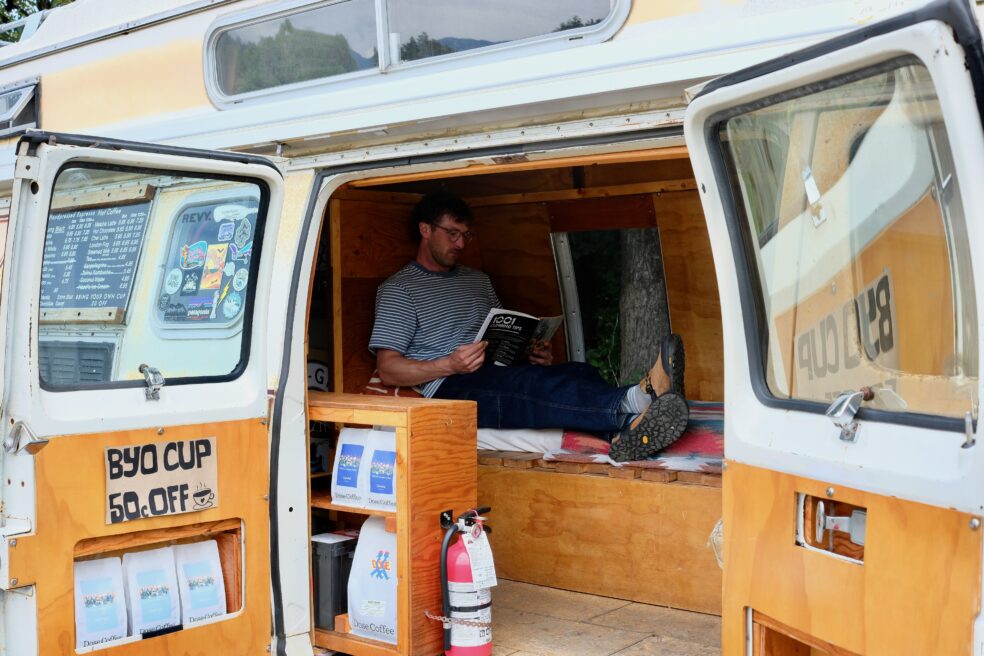
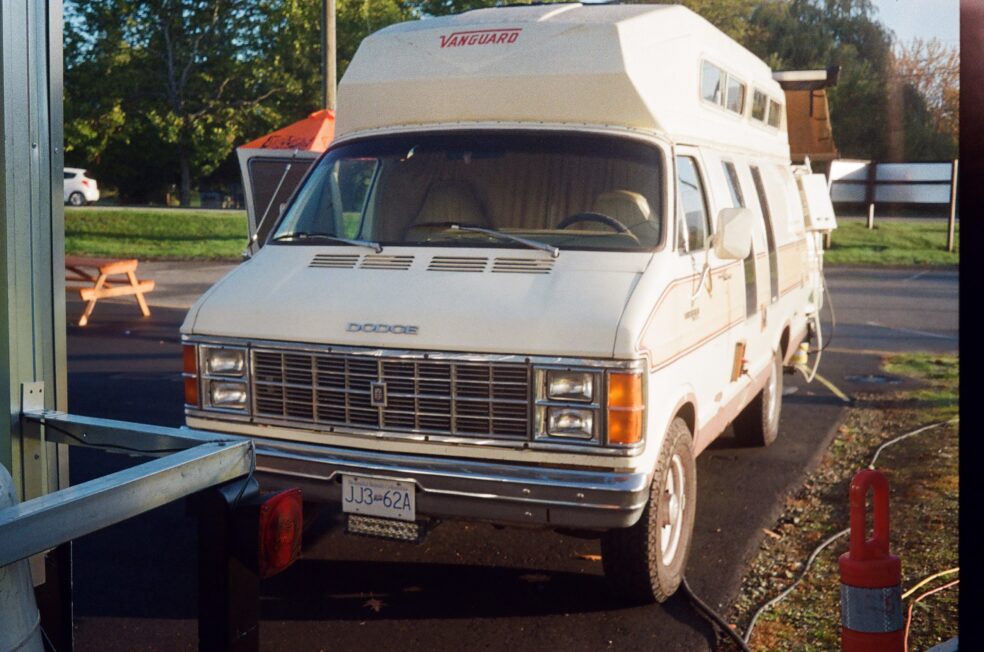
At its heart, Off-Grid Camper Coffee is a tiny, intentional living space—just 100 square feet—crafted inside a 1979 Dodge camper van and designed to function seamlessly as both home and workspace. Every aspect—from the hand-pressed espresso bar to the foldaway bed and integrated storage—is guided by a single principle: Embrace only the essential. The result is a space that is stripped back but deeply personal, functional, and full of meaning. For Jacob, it’s an ongoing experiment in minimalism, not as a mere aesthetic, but as a practical, grounding approach to living and working.
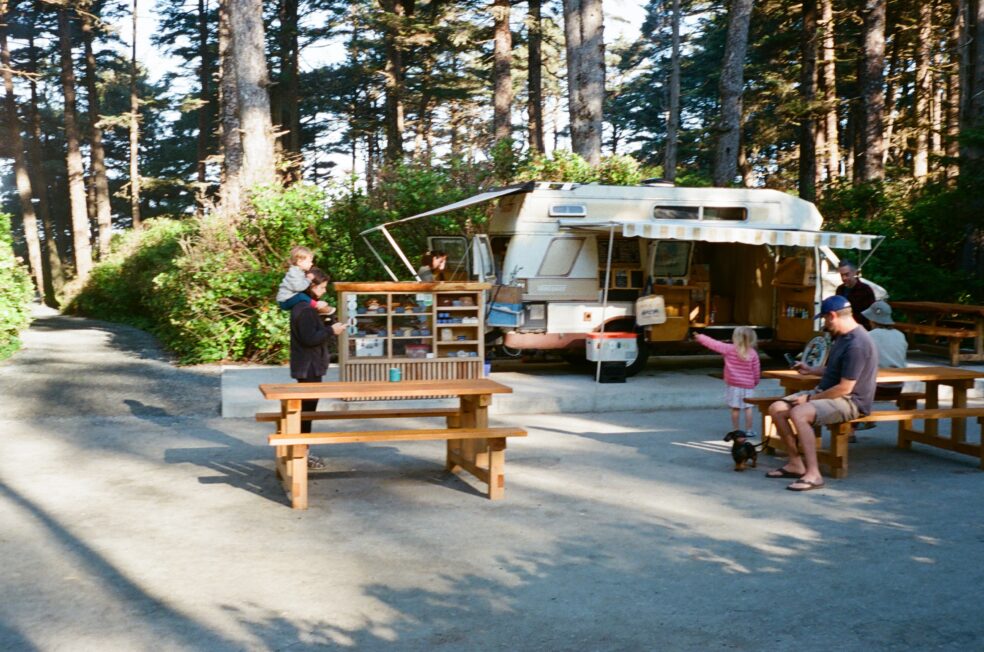
Jacob has parked his camper in Tofino where it serves as a sunrise hub for surfers and campers; on Mt. Washington, it has transformed a snowy parking lot into a vibrant community space, caffeinating competitors and spectators alike. Conversations about adventure, sustainability, freedom, and design flow as easily as the espresso. This is remote work at its finest.
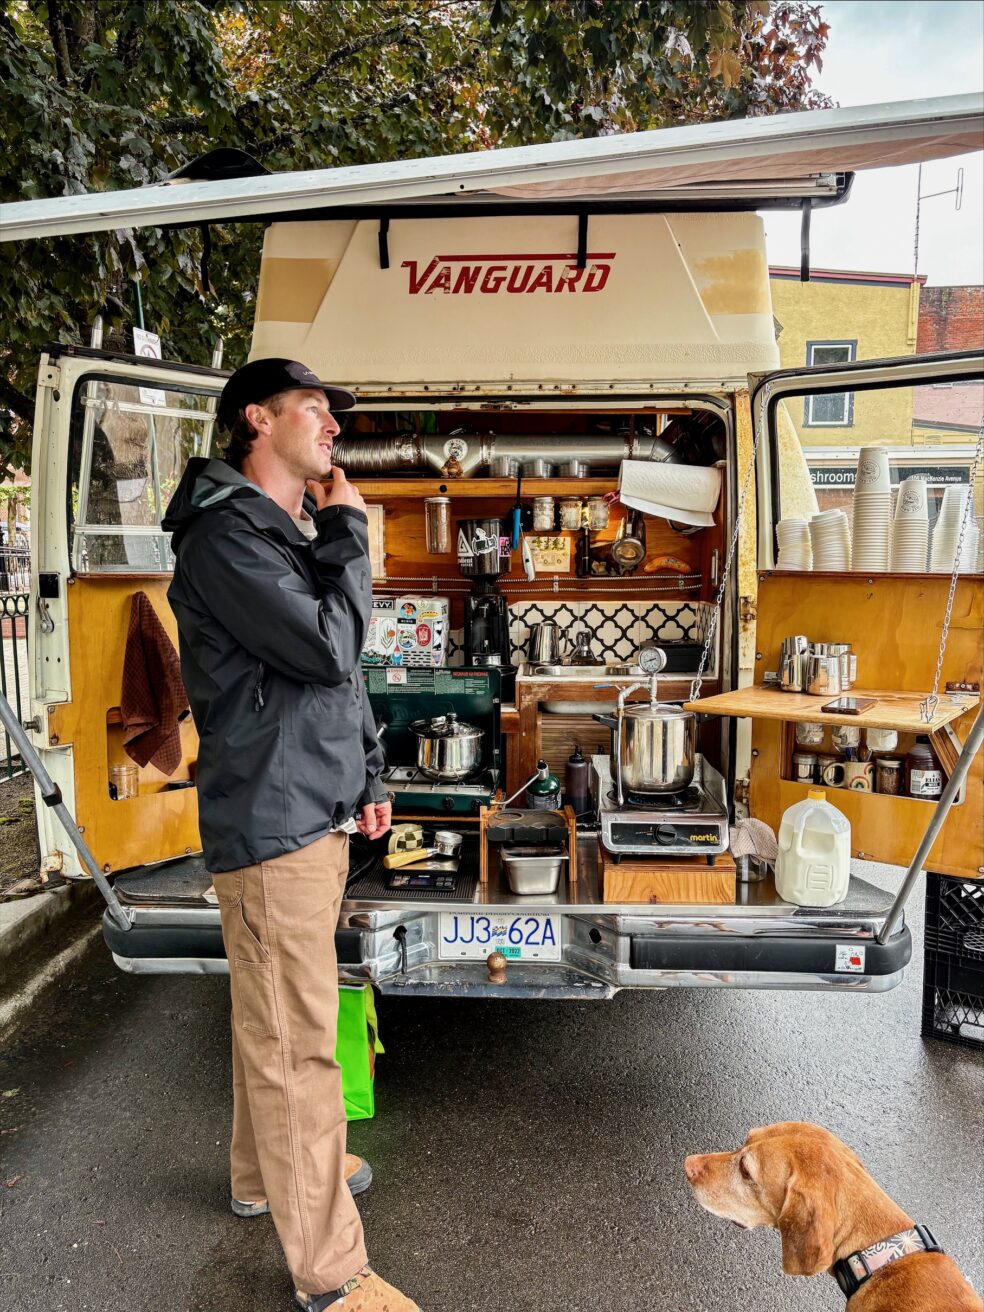
The technical core of Off-Grid Camper Coffee lies in its off-grid capability. The van runs entirely on solar power, using a hand-pressed espresso setup that consumes a fraction of the energy of commercial machines. Jacob engineered a custom milk steamer from a pressure cooker and parts from the hardware store. It runs on minimal propane. Every detail was designed for low environmental impact, utilizing upcycled materials and maximizing efficiency and independence. It’s freedom engineered—a mobile shelter that leaves a light footprint.
Much like the core message of Shelter Publications and Lloyd Kahn, Jacob O’Riain’s Off-Grid Camper Coffee is a living, rolling embodiment of crafting a life with one’s own hands, using what’s available, and making do with less—while living more fully. The camper’s interior draws inspiration from the cozy, wood-filled cabins and handmade homes celebrated in Shelter: natural materials, warm textures, and a sense of refuge from the noise of the world. Through sustainable design, self-reliance, and the joy of building one’s own world, Jacob’s project reimagines what a home can be; what work can look like; and how one small, intentional venture can inspire both community and creativity. It’s about finding joy in wild places, embracing thoughtful design and responsible living, and proving that anyone—regardless of background—can build a life that’s both adventurous and deeply rooted in what matters.
It’s a tiny shelter on wheels, but it carries a big idea: With intention, creativity, and a willingness to do things differently, anyone can carve out freedom, connection, and a sense of home—wherever the road may lead.


